

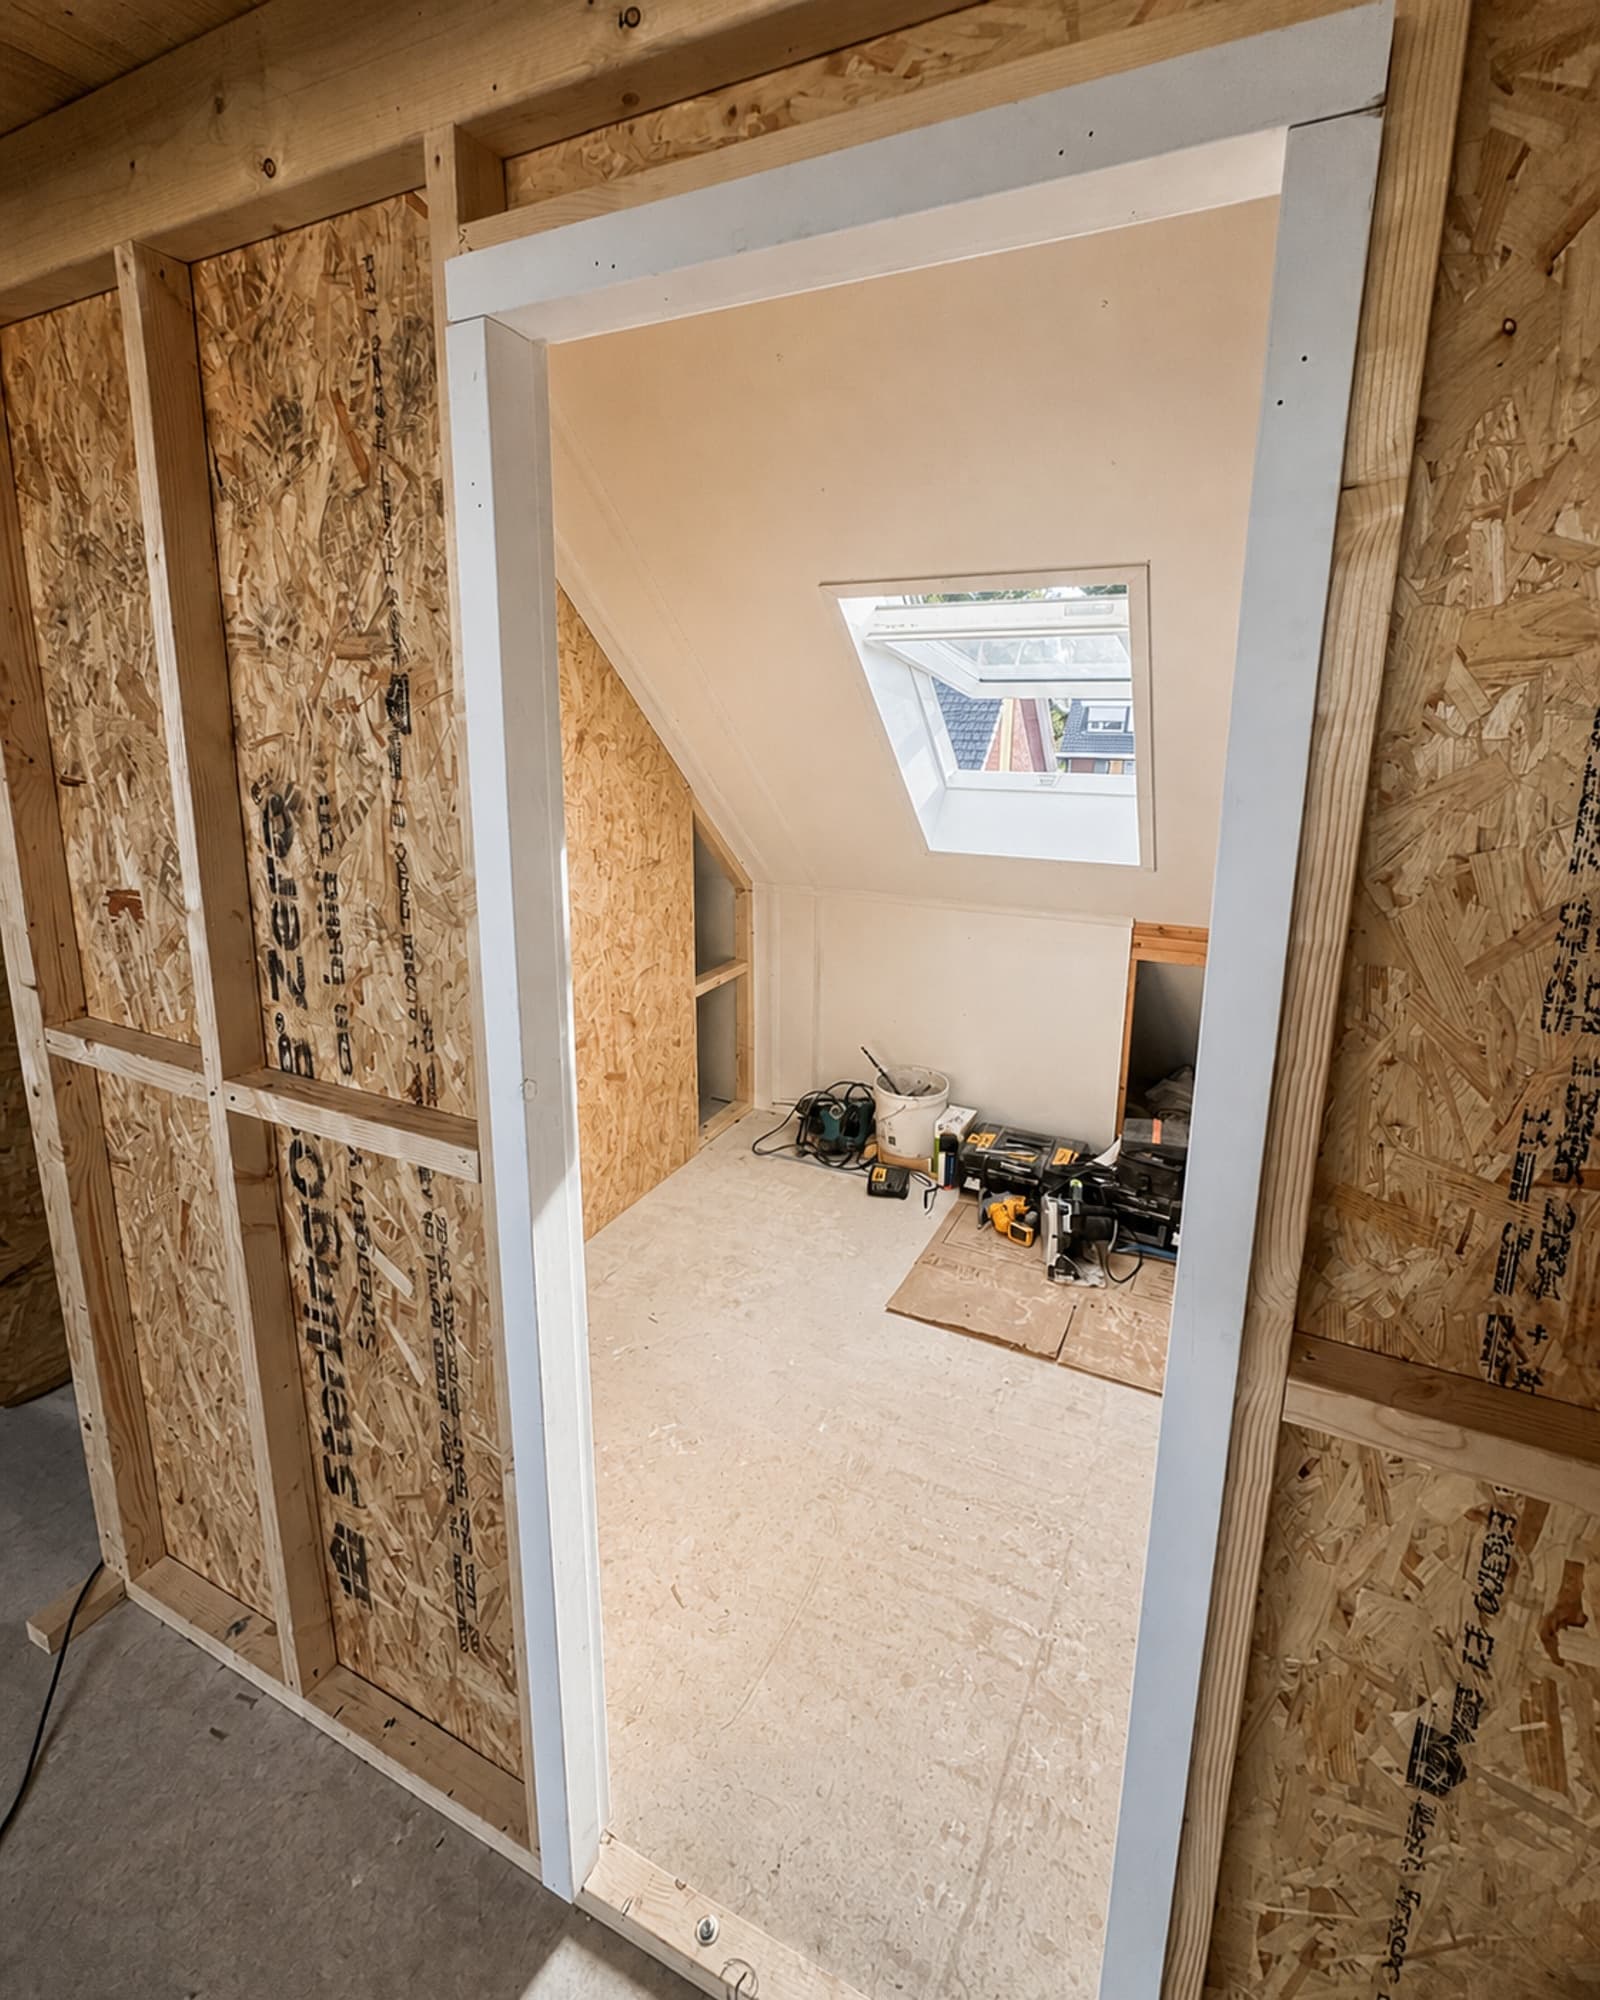
Process
From first consultationto handover.
A complete bathroom renovation is a sequence of steps that have to happen in the right order. Below is the full process, the way we carry it out.
The full process
- 01
Planning and quotation
We come by for a technical consultation: measuring up, assessing the room and going through what you want. Layout, shower, basin, toilet, cabinetry and underfloor heating are all covered, as are materials and planning. An itemised quotation follows.
- Technical consultation
- Measuring up
- Layout and materials
- Planning
- Itemised quotation
- 02
Permissions and preparation
In an apartment we check whether permission from the building's owners association (VvE) is needed and what the house rules require. We also arrange the practical side: access to the home, protection of the routes through it and removal of construction waste.
- VvE permission where applicable
- Building requirements
- Access to the home
- Removal of construction waste
- 03
Complete demolition
The old bathroom comes out entirely: tiles, floor, ceiling, plasterboard where needed, sanitary ware, shower or bath, cabinetry and the pipework and electrics that are being replaced.
Checkpoint
After the demolition we inspect what has become visible: damp, mould, structure, the condition of the pipework and the electrics. Whatever we find, we discuss with you before building further.
- Tiles and floor
- Ceiling and plasterboard
- Sanitary ware and cabinetry
- Outdated pipework and electrics
- 04
Plumbing
The new pipework is installed: the concealed cistern for the wall-hung toilet, hot and cold water to the shower, basin and any bath, and the waste and sewer connections.
Checkpoint
The pipework is pressure-tested before the walls are closed.
- Concealed cistern for wall-hung toilet
- Hot and cold water
- Shower, basin and bath
- Waste and sewer connections
- 05
Electrical installation
Wiring for ceiling lighting, recessed spots, sockets, the extractor fan, an illuminated mirror, the thermostat and the electric underfloor heating.
Checkpoint
The installation is tested before the walls and ceiling are closed.
- Wiring and circuits
- Ceiling lighting and recessed spots
- Sockets
- Extractor fan
- Illuminated mirror
- Thermostat
- 06
New floor and underfloor heating
The electric underfloor heating is installed and tested, after which the screed goes over it. The floor is finished level, with the right fall towards the shower drain.
Checkpoint
The underfloor heating is tested before the screed is applied.
- Electric underfloor heating
- Screed
- Levelling
- Fall towards the drain
- 07
Walls and ceiling
Plasterboard, ceiling, closing up the walls, levelling and plastering — the flat base on which the waterproofing and the tiling can be applied.
- Plasterboard
- Ceiling
- Closing the walls
- Levelling and plastering
- 08
Waterproofing
The entire floor, the shower and the wet walls are made watertight, including the corners, the joint between floor and wall and the framing around a bath where there is one.
Checkpoint
Waterproofing always comes before the tiling — never after.
- Entire floor
- Shower
- Wet walls
- Corners and seams
- Floor-to-wall joint
- 09
Tiling
Floor and wall tiles are set with the right adhesive, aligned and level, with carefully cut edges. Grouting and sanitary sealant in the movement joints follow.
- Floor tiles
- Wall tiles
- Alignment and levelness
- Cutting
- Grouting
- Sanitary sealant
- 10
Painting and finishing
Finishing the plasterwork, sanding, applying primer and painting with moisture-resistant paint that can handle a bathroom climate.
- Plasterwork
- Sanding
- Primer
- Moisture-resistant paint
- 11
Sanitary ware and cabinetry
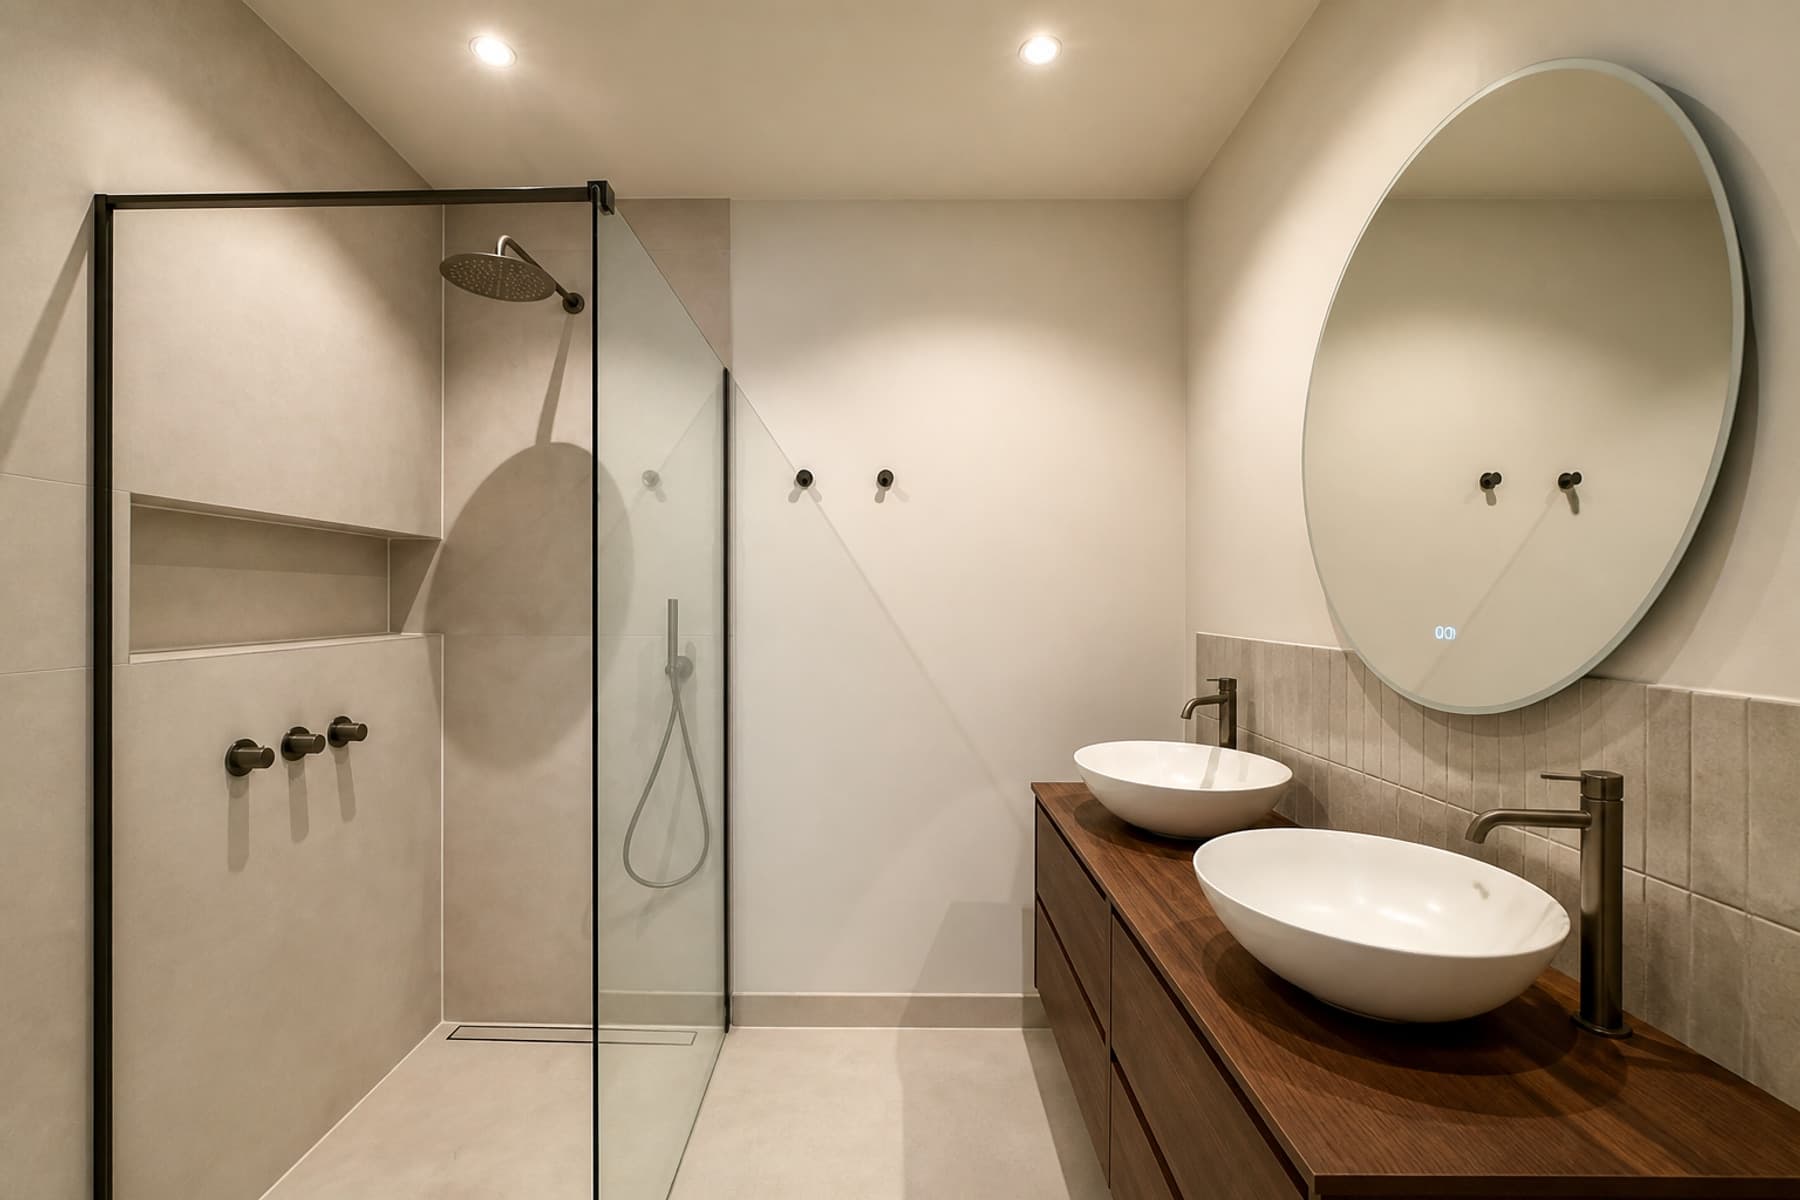
The toilet with concealed cistern, the basin, taps, shower, bath, glass screen, mirror, cabinets, niches and accessories are fitted, together with the lighting, sockets, extractor fan and thermostat.
- Wall-hung toilet and concealed cistern
- Basin and taps
- Shower, bath and glass screen
- Mirror, cabinets and niches
- Lighting and switches
- Extractor fan and thermostat
- 12
Cleaning and handover
The bathroom is cleaned and we walk through everything together. The final tests follow, along with an explanation of how to use the installation.
Checkpoint
The underfloor heating may only be switched on once the adhesive and grout have cured sufficiently, in line with the specifications of the system and materials used. At handover we tell you which curing time applies to your installation.
- Pipework and leaks
- Drainage
- Electrics and earthing
- Lighting and sockets
- Extractor fan
- Thermostat and underfloor heating
Contact
Ready for a completely
renewed bathroom?
Schedule a consultation with no obligation. We look at the room, discuss what you want and map out the project clearly.
Schedule a consultation